There are many reasons why you might want to delete or deactivate Facebook, including privacy concerns. After all, if Meta’s data collection practices are invasive enough that it’s considering launching paid plans to avoid GDPR privacy law fines, perhaps Facebook users have the right to be worried.
Whether you want to delete your Facebook account due to privacy concerns, you’re tired of social media, or there’s someone you’re trying to avoid on the platform, we have you covered. Read on to find out how to delete or deactivate your Facebook account on iPhone or in your browser.
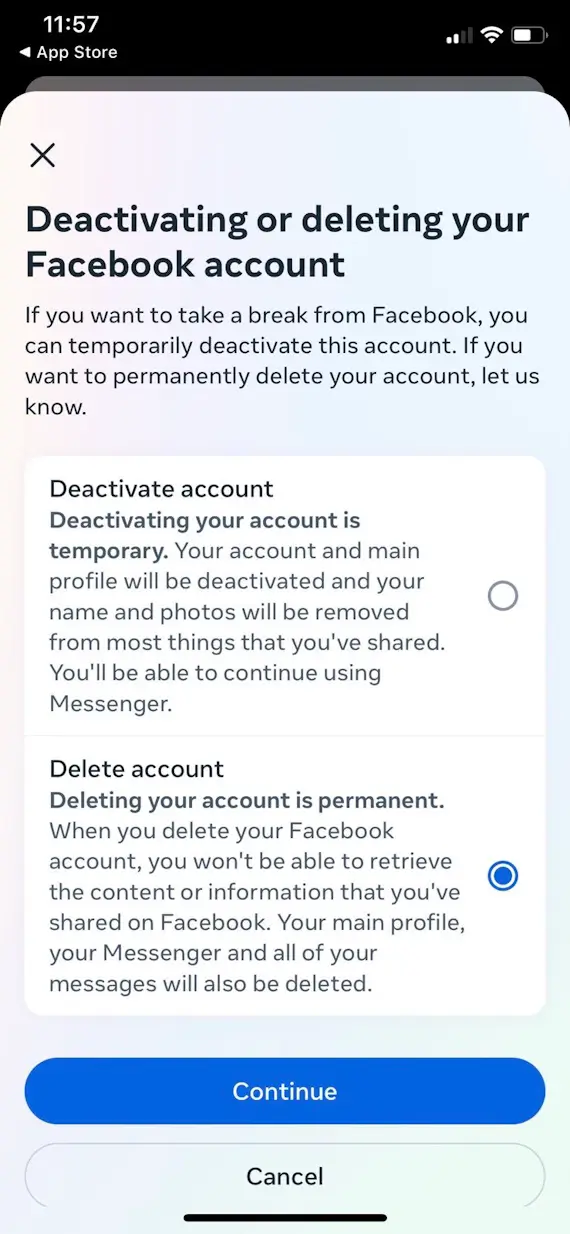
What’s the difference between deactivating and deleting a Facebook account?
Whether you’re getting rid of your Facebook account because of privacy concerns or just to take a break from social media, the first step is to decide between deactivating or deleting it.
Unlike deleting a Facebook account, deactivating an account isn’t permanent. Deactivating your account also doesn’t scrub your information from the internet to the same extent as deleting it does.

Want to be more private online?
In order to restore your account, as deactivation allows, Facebook retains all that information and keeps it accessible on its data servers. If, therefore, you’re seeking to reduce your digital footprint, deactivation isn’t as good as deletion.
Here are a few of the main differences between Facebook account deactivation and deletion:
- A deactivated Facebook account can be reactivated and restored to a full account at any point, but a deleted account can only be reactivated for up to a few days after deletion.
- When you delete your account, even Meta (Facebook) loses some information about you. For example, some data, such as log records, will be stored but, according to Meta, will be “disassociated from personal identifiers.” When you deactivate your account, however, all data should be kept.
- Deleting your account will also delete all Meta Quest information, such as app purchases and achievements.
Can you deactivate Facebook but keep Messenger?
Yes, you can deactivate Facebook but keep Messenger, provided that you’re using a mobile device like an iPhone or Android phone. This is one of the pros of deactivating Facebook rather than deleting it.
To continue using Messenger, all you need to do is ensure that the checkbox next to “Opt out of receiving messages on Messenger” is not checked when you deactivate Facebook.
Deactivation doesn’t completely get rid of your Facebook account. Some account information, such as messages you’ve already sent and posts in groups, may still be visible to some people, such as group admins and your friends.
Can you reactivate Facebook?
Yes, you can reactivate Facebook, provided that it’s only deactivated or it hasn’t been more than a few days since you deleted it. If you deactivate your account, you can reactivate it at any time. If you delete it, you only have a few days to reactivate it until it’s gone for good.
To reactivate your account, all you need to do is log in to Facebook or use your Facebook account to log in somewhere else.
Why do some people frequently deactivate and then reactivate their Facebook accounts?
There are many reasons why someone might frequently deactivate and reactivate their Facebook account. Here are some reasons why they might do so:
- Tech break: A user might find that social media eats up their time or stresses them out, and they need to take frequent breaks from it.
- Lost device: They might lose a device that they’re signed into Facebook with and decide to deactivate their Facebook account to make sure that nobody who finds the device can access their account.
- Yes to friends, no to notifications: Some people decide that while they want to check how their social media friends are doing occasionally, they don’t want to open themselves up to interactions from others.
- Attention: It’s not unheard of for individuals to disappear from Facebook solely in the hope that their friends will notice that their account is deactivated and ask what’s up.
How to deactivate Facebook
Deactivating a Facebook account is more of a temporary solution than deleting it. If you want to get rid of Facebook but retain the option to reactivate your account in the future, here’s how to do so.
How to deactivate a Facebook account in a web browser
- Go to Facebook.com and click your profile picture in the top-right corner.
- Go to Settings and privacy > Settings.
- Click Accounts Center.
- Click Personal details.
- Click Account ownership and control.
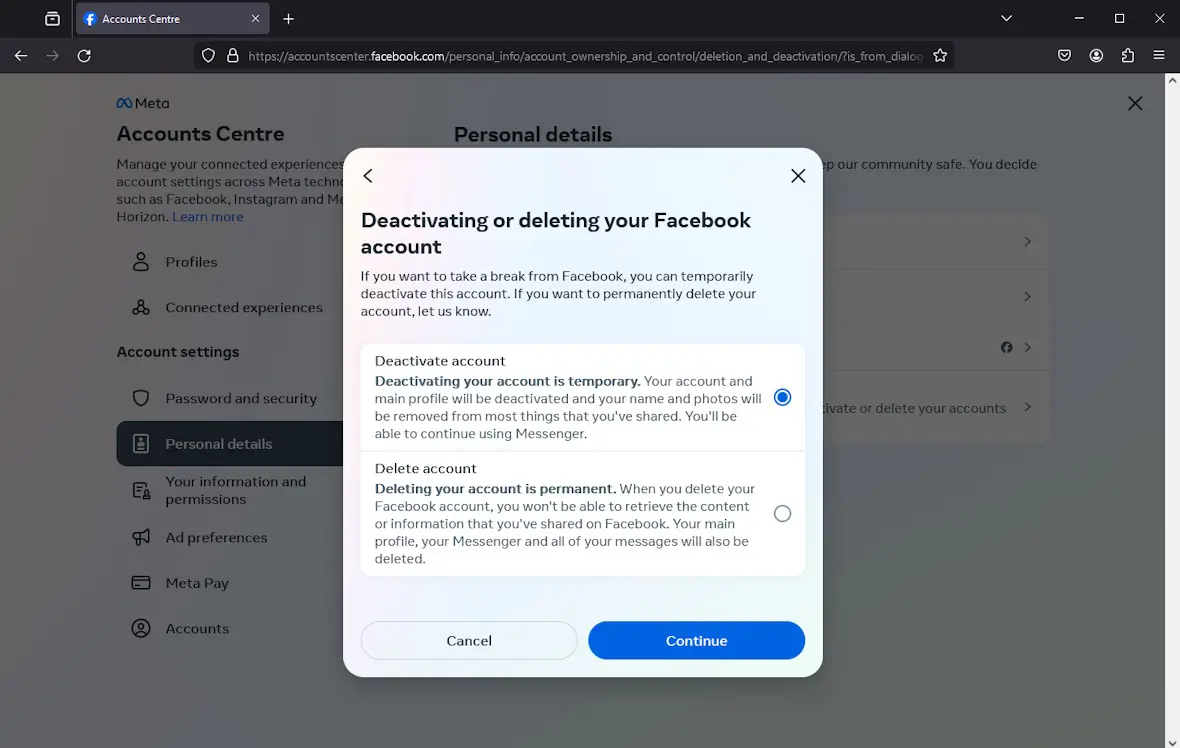
- Click Deactivation or deletion and select Deactivate.
- Select the account you wish to deactivate, then select Deactivate.
- Enter your password to confirm, and click Continue to deactivate your Facebook account.
How to deactivate Facebook on iPhone
- Open the Facebook app and press the hamburger icon in the bottom-right corner.
- Press the profile dropdown arrow at the top.
- Select Go to Accounts Center.
- Select Personal details.
- Select Account ownership and control.
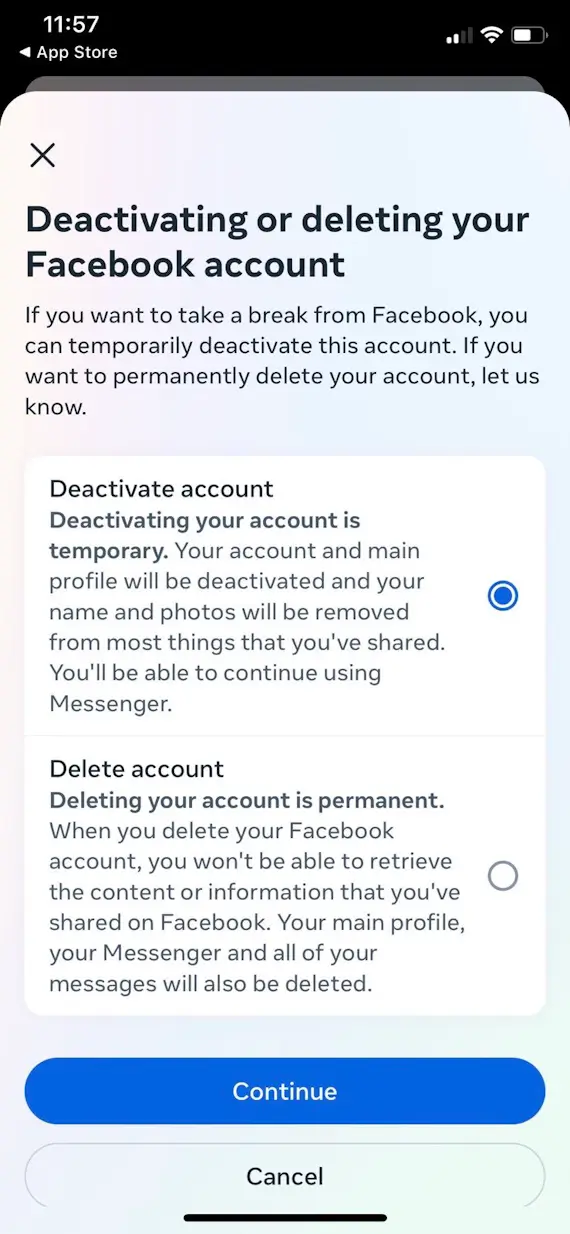
- Select Deactivation or deletion and select Deactivate.
- Select the account you wish to deactivate, then select Deactivate.
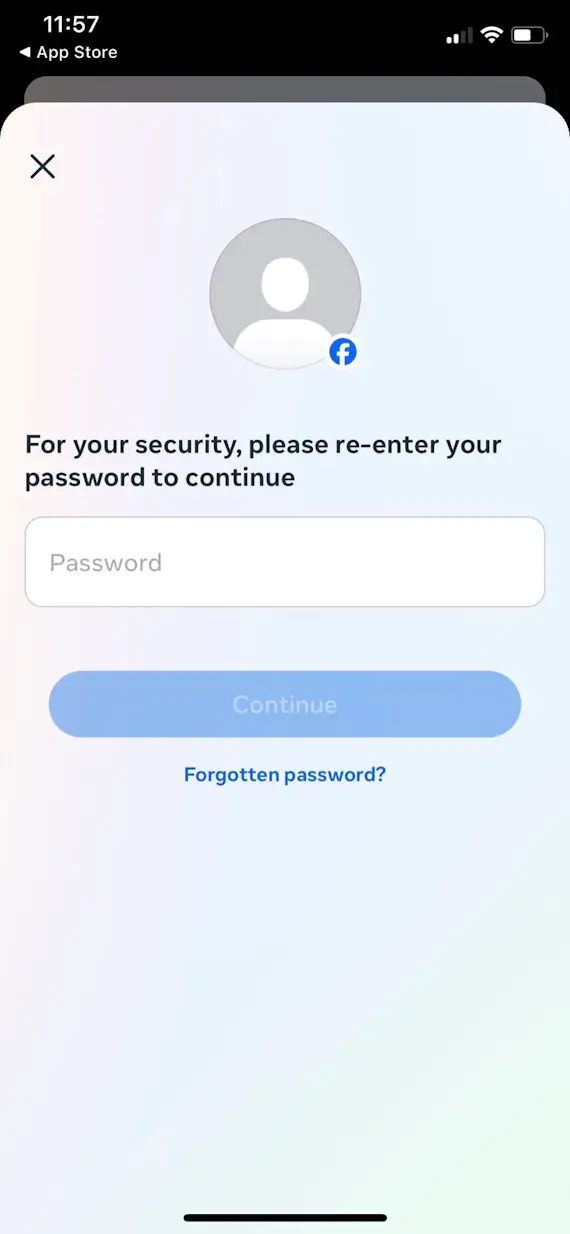
- Enter your password to confirm, and click Continue to deactivate your Facebook account.
How to download a copy of your information on Facebook
Before you delete or deactivate your Facebook account, you might want to know what information Meta has about you. You can catch a glimpse of this by downloading a copy of your Facebook information.
It’s important to note that this won’t give you all the information Facebook has collected on you. As Wired reports, things like your browsing history and ads you interacted with over 2 months ago aren’t included.
Despite this missing information, there is still a lot you can download. And, perhaps more importantly, downloading your Facebook data can offer a quick and easy way to back up all your treasured Facebook memories — posts, images, messages, and so on — before you delete or deactivate your account.
Here’s how to download your Facebook data.
1. Navigate to the Accounts Center
First, navigate to the Facebook Accounts Center. This is the area where you can control all kinds of account settings, including Facebook data download options.
To get to the Facebook Accounts Center on iPhone:
- Open the Facebook app.
- Select the hamburger icon in the bottom-right corner.
- Press the profile dropdown arrow at the top.
- Select Go to Accounts Center.
To get to the Facebook Accounts Center in a web browser:
- Go to Facebook.com.
- Click your profile picture in the top-right corner.
- Go to Settings and privacy.
- Click Settings.
- Click Accounts Center.
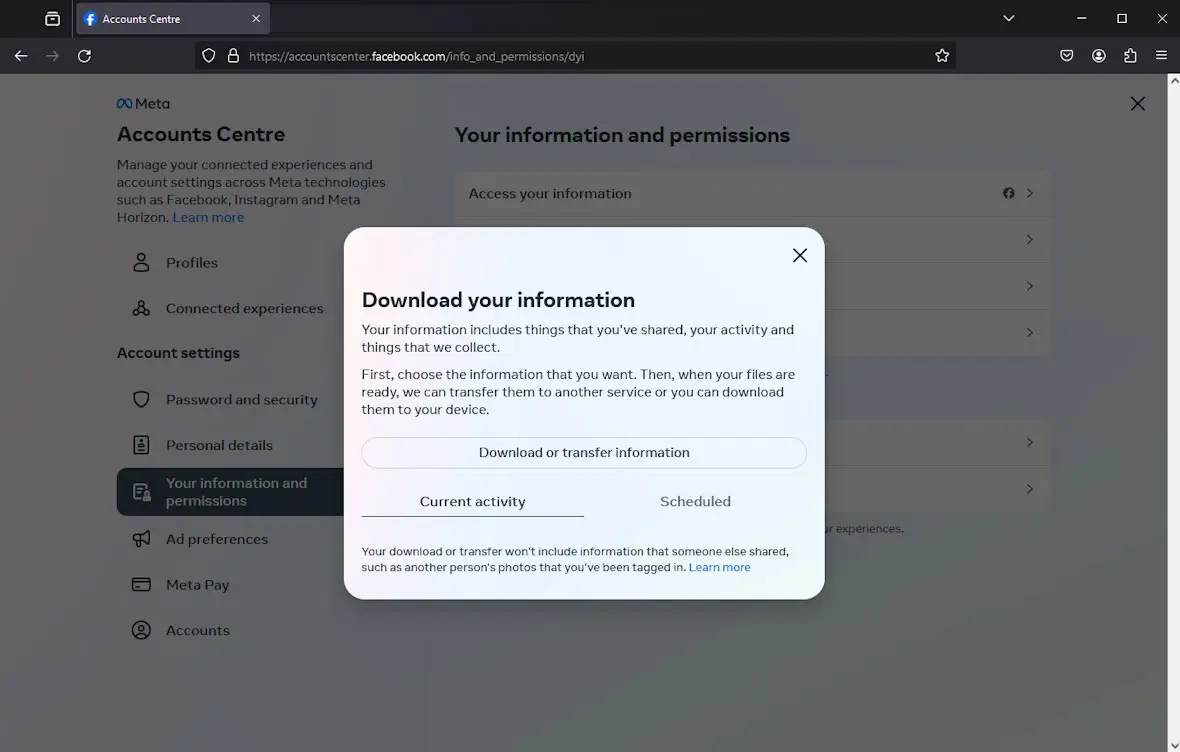
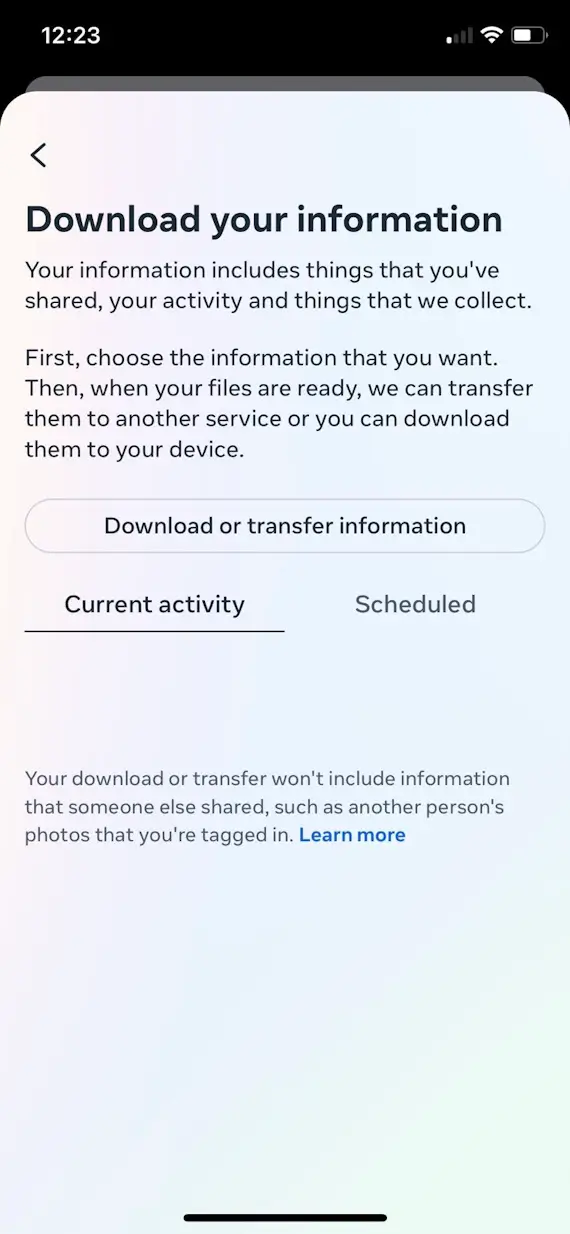
2. Navigate to Download your information
Whether in a browser on desktop or in-app on iPhone, the next steps are the same:
- Select Your information and permissions.
- Select Download your information.
- Select Download or transfer information.
3. Decide whether to download available or specific types of information
Facebook will now ask whether you want to download your available information or specific types of information.
If you choose to download available information, you’ll download all the information and activity for your account and profile except for data logs.
If you choose to download specific types of information, you’ll be able to pick and choose what Facebook account and profile information you download, including data logs. You’ll do this before choosing where you want to download your data.

4. Choose where to save your data
Whether you have chosen to download available information or specific types of information, you can now indicate where you want to save your data. You can either download it to your device or transfer it to another destination.
If you select “Download to device,” your Facebook information will be saved on the device you’re currently using. Simply pick your preferred options (such as the data’s date range, format, and quality) and create the files.
If you select “Transfer to destination,” your Facebook information will be saved to the destination you choose, such as Google Drive or Dropbox. Simply select your destination, choose whether and how often you want to schedule regular data saves, connect your destination and Facebook accounts, and create the files.
How to delete a Facebook account
If you’ve decided to take the plunge and permanently delete your Facebook account, remember that you only have a few days to reactivate it if you change your mind. After that, your account will be gone forever. With that in mind, here’s how to do it.
How to delete a Facebook account in the browser
- Go to Facebook.com and click your profile picture in the top-right corner.
- Go to Settings and privacy > Settings.
- Click Accounts Center.
- Click Personal details.
- Click Account ownership and control.
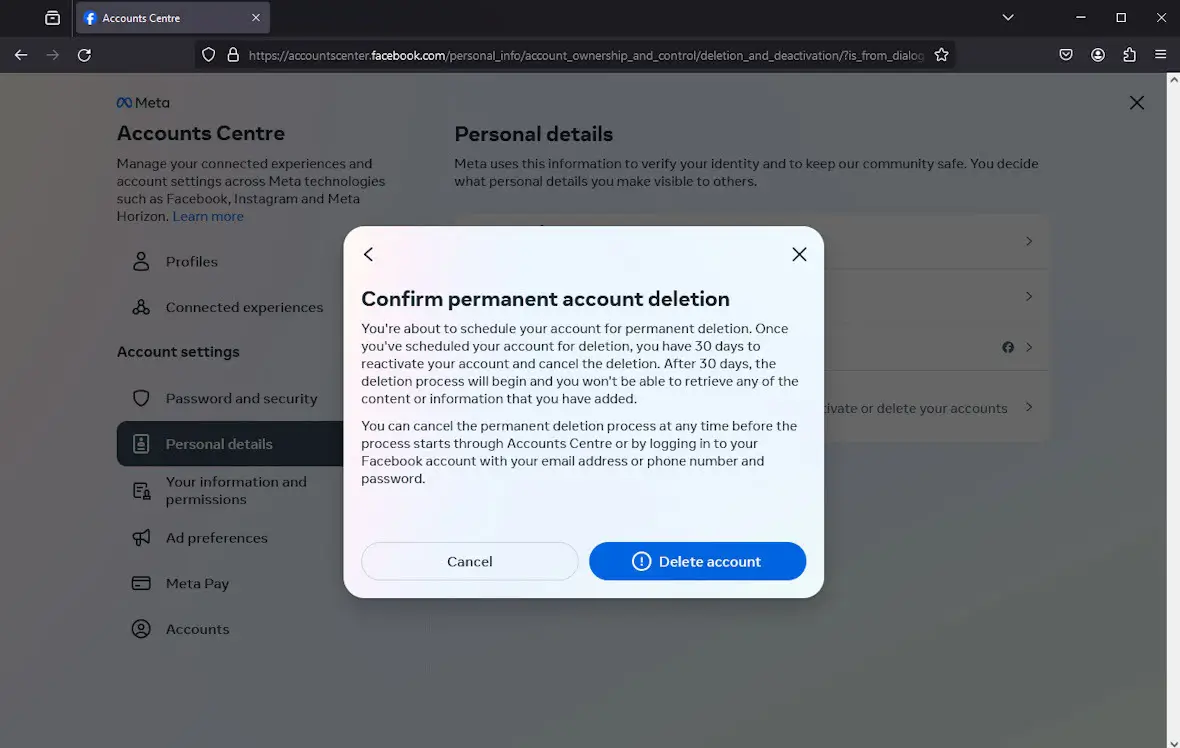
- Click Deactivation or deletion, then select Delete.
- Select the account you wish to delete and click Delete.
- Choose whether to save your posts to an archive, download your information, or transfer a copy of your information to Google Drive or Dropbox before deleting your account.
- Enter your password to confirm, and click Continue to delete your Facebook account.
How to delete a Facebook account on iPhone
- Open the Facebook app and press the hamburger icon in the bottom-right corner.
- Press the profile dropdown arrow at the top.
- Select Go to Accounts Center.
- Select Personal details.
- Select Account ownership and control.
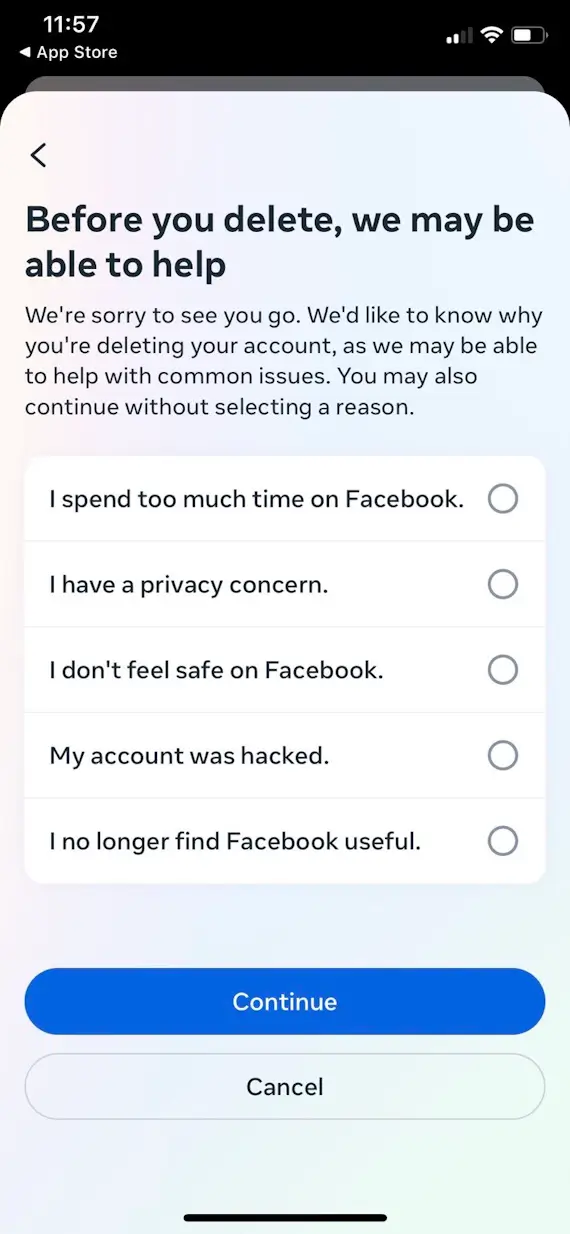
- Select Deactivation or deletion and select Delete.
- Select the account you wish to delete, then select Delete.
- Choose whether to first save your posts to an archive, download your information, or transfer a copy of your information to Google Drive or Dropbox before deleting your account.
- Enter your password to confirm, and click Continue to delete your Facebook account.
Whether you’re deactivating or deleting your account, remember, deactivating Facebook doesn’t fully remove your data. If you’re concerned about Facebook messenger privacy, consider taking additional steps to secure your data.
If you want to reduce your digital footprint or prevent Meta from collecting further information about you, deleting or deactivating your Facebook account can help. Follow the steps above to do so. Just ensure that you’ve downloaded all the account and profile information you need before you do so, and don’t delete your account unless you’re sure you won’t want it back.
This is an independent publication, and it has not been authorized, sponsored, or otherwise approved by Meta Platforms, Inc. Facebook is a trademark of Meta Platforms, Inc.