
If you’ve lately been trying to do online searches on places like Google or DuckDuckGo, you may have been frustrated with your browser constantly sending you to Bing instead. This is likely due to the Bing redirect virus.
What is it, and how do you get rid of it? That’s the subject of this article. We’ll provide in-depth explanations and advice.
What is the Bing redirect virus?
The Bing redirect virus is not technically a virus. It’s a form of malware known as a browser hijacker. We’ve discussed before the differences between viruses and malware, and the distinctions are pretty clear cut. It is similar in nature to QSearch.
Therefore, we should refer to it as the Bing redirect malware or the Bing redirect browser hijacker.

As the name says, the Bing redirect malware will redirect all your web searches from other search engines (Google, DuckDuckGo, etc) to Bing. It does this by redirecting you through a dodgy site first, then onto Bing.
The purpose of this is to make money from your searches in the form of affiliate links and Pay Per Click (PPC). They will also be monitoring your web history and selling that information to third parties.
They send you on to Bing because you’re less likely to be suspicious of Bing than a badly designed website that is clearly malicious and malware-infected.
Why does Google keep redirecting to Bing?
If you can’t get your browser to stay away from Bing, you definitely have a browser hijacker, most likely the Bing redirect malware.
Once the hijacker takes over your device, it adds scripts to your machine that will intercept your searches and redirect them to Bing via a website controlled by the hijackers. This middleman site appears and then disappears so quickly that you’re not likely to see it.
It also has a bad habit of reinstalling itself. If you change your search engine back to your default one, the malware will simply change it back again.
This malware needs to be removed immediately. It’s not just a nuisance — it has the potential to really wreak havoc in your life.
How the Bing redirect took over your device
There are various attack vectors for the Bing redirect malware. Let’s examine them:
- It came bundled with what you thought was legitimate software. This also makes the Bing redirect a trojan malware. While you’re busy installing the legitimate software, the Bing redirect is quietly installing itself in the background.
- You installed a dodgy browser extension — not all extensions are honest and trustworthy. Although Google does an excellent job at screening and monitoring extensions in the Google Play Store, some bad actors do occasionally slip through. Plus, of course, there are those available outside of the Google Play Store, with no oversight.
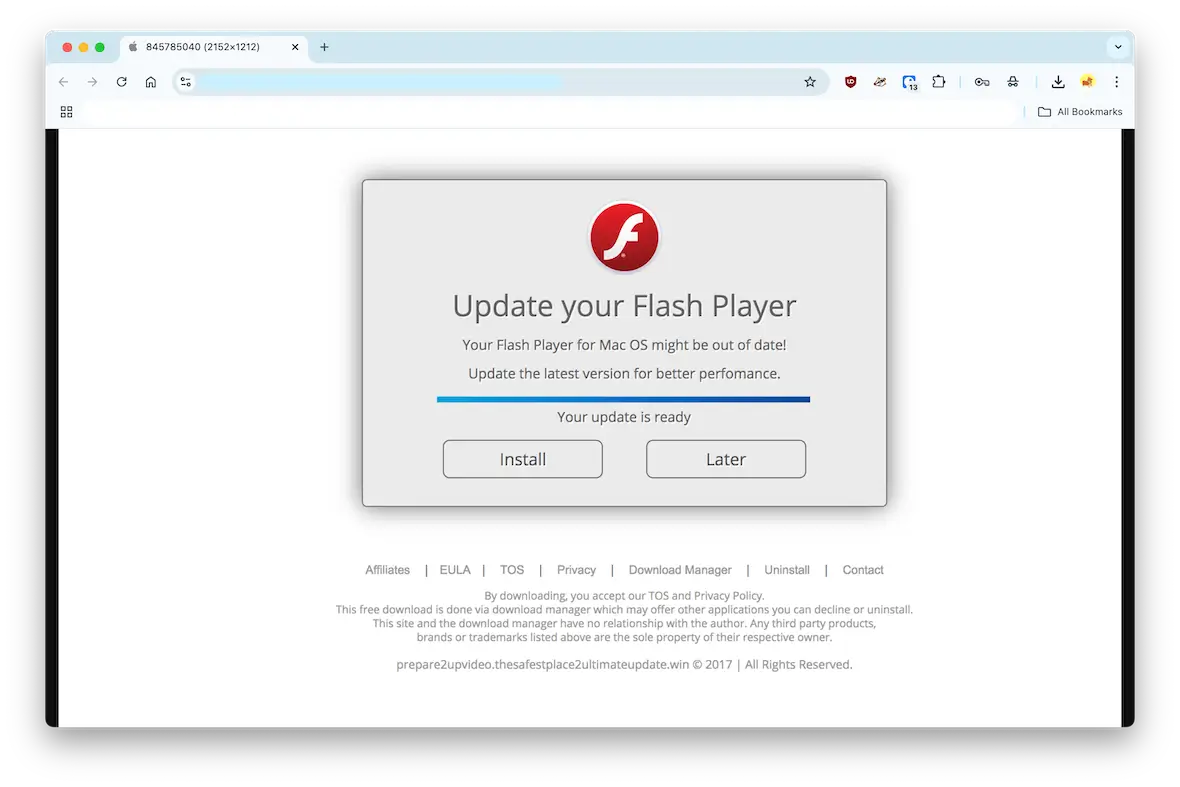
- Fake app updates could be to blame. You have to feel sorry for Adobe. Fake updates for their Flash Player are a common method for hackers to get people to download malware. If you get a pop-up on the screen telling you to download a Flash Player update, ignore it. It’s likely fake.
- If you’re bombarded with countless pop-ups, they could lead to more malware — including the Bing redirect. If your ad blocker has trouble controlling the ads, then something else is pulling the strings.
Is the virus that’s causing Chrome to redirect to Bing dangerous?
At first glance, a Google redirect to Bing may be seen as a minor nuisance and could be ignored. But this would be a big mistake. Malware like this should never be ignored. In fact, the Bing redirect is dangerous.
Why? Because it not only changes your browser settings but also monitors and eventually steals your browsing data and personal data. That data will be sold to other bad actors who will use your credit card (for example) and wreck your credit rating.
Plus, remember this above all else. Malware always leads to more malware. If you let the Bing redirect in and ignore it, it will eventually invite its friends to join in. And you definitely don’t want that. Bing will break the door down, but its friends will trash the house and eat your food.
How to remove the Google redirect to Bing
So, now that we’ve scared you into understanding how bad it is, let’s look at some practical tips on how to get rid of the Bing redirect. The first step is the easiest — bringing out the big artillery.
Scan your Mac for malware using Moonlock
The quickest and most effective way to remove the Bing redirect malware — indeed, any malware — is to use Moonlock. It will track down and destroy malware threats on your device and give useful recommendations on how to improve security on your Mac.
This isn’t hyperbole. And to prove it, we give you a free trial so you can see firsthand how deadly effective Moonlock is. So, with nothing to lose and everything to gain, sign up for your free trial and install the software.
You’ll be amazed at how easy and fast it is. Here’s how to use it:
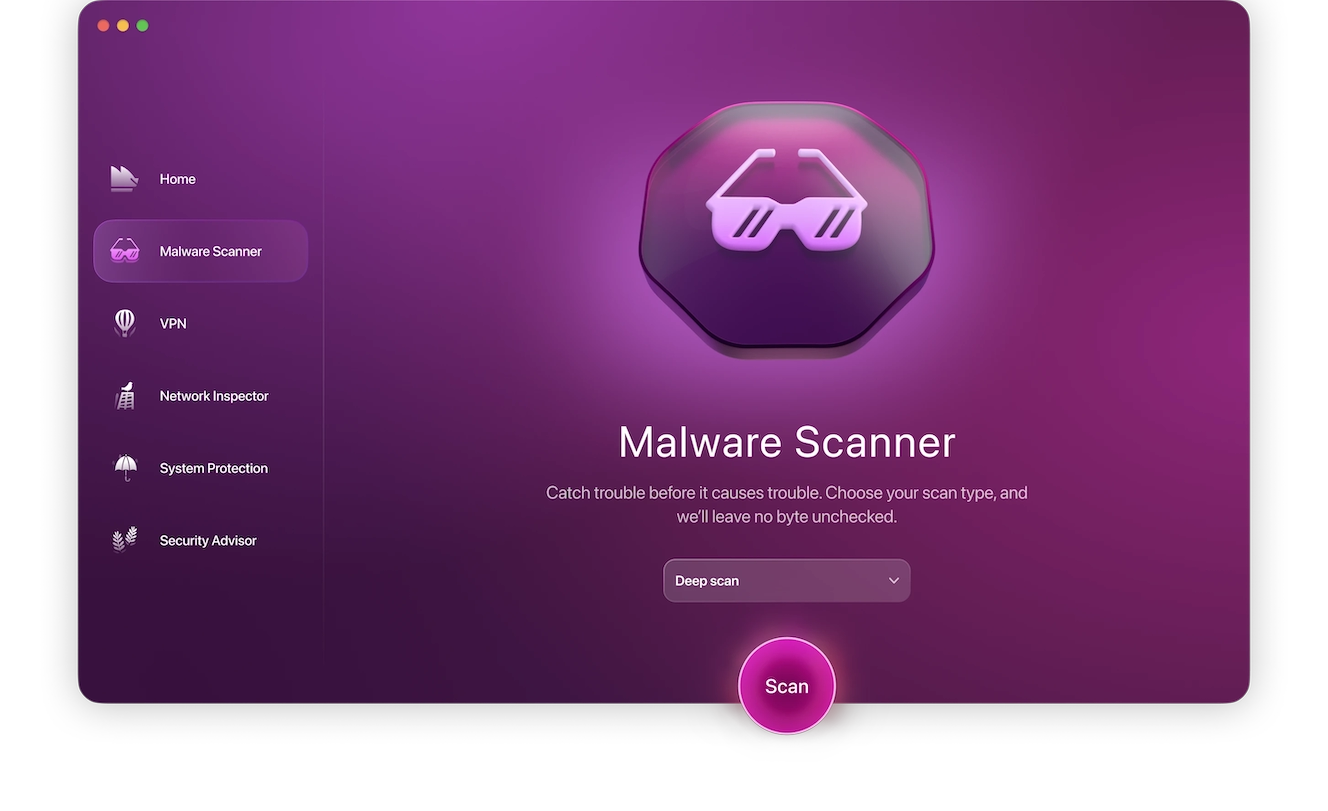
- When you open up Moonlock, you’ll see various options on the left. One of them is called Malware Scanner. This is where the malware removal tool lives. This is what you need.
- First, we have to arm Moonlock with the weapons it needs to do the job. Click Configure in the dropdown menu, which will take you into the scan settings. Choose Deep scan mode and tick the box for everything to take advantage of all the protection you can get.
- Close the settings screen and return to the main Malware Scanner screen. Now click the Scan button and watch Moonlock get to work.
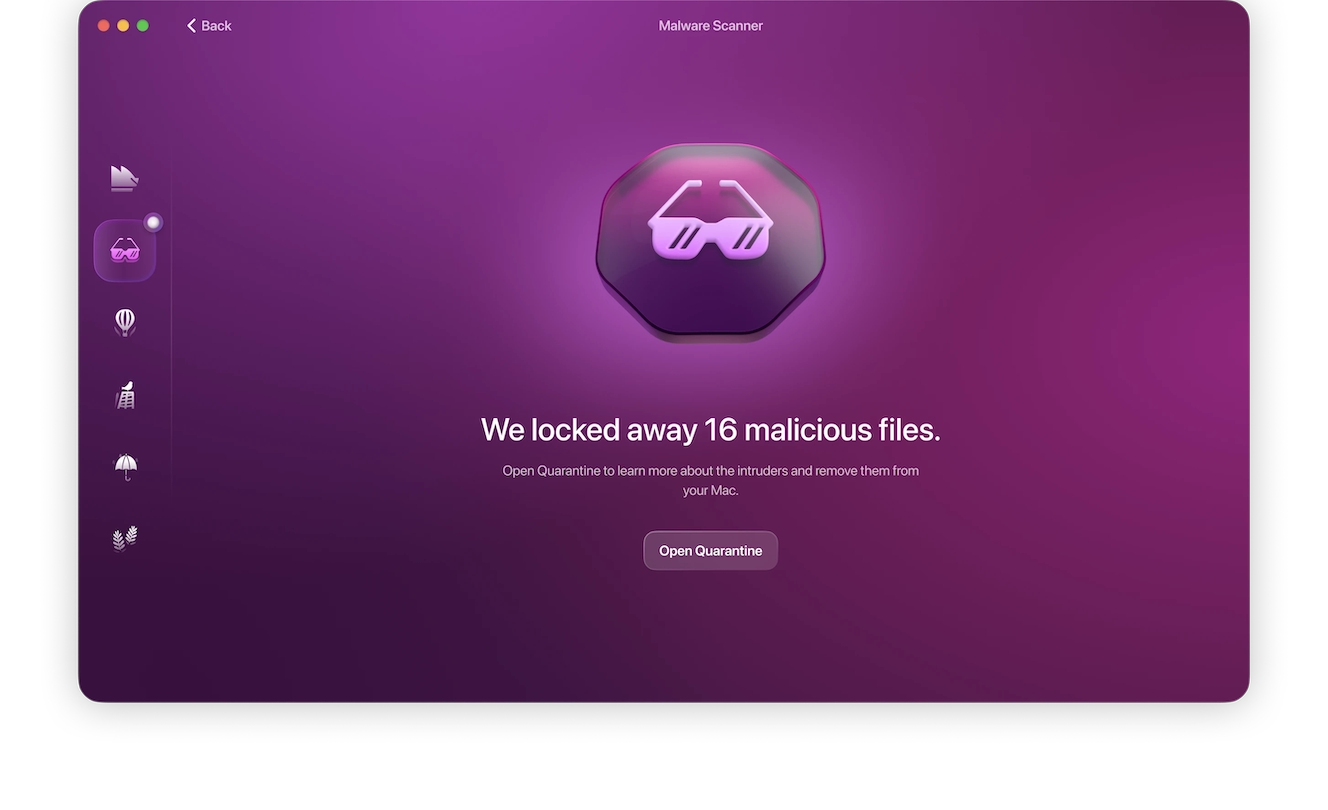
- After systematically and methodically looking for all traces of the Bing redirect, it will quarantine the offending files and present them to you in a list. Select them all and click Remove. Now, celebrate because you’ve just nuked the Bing redirect.
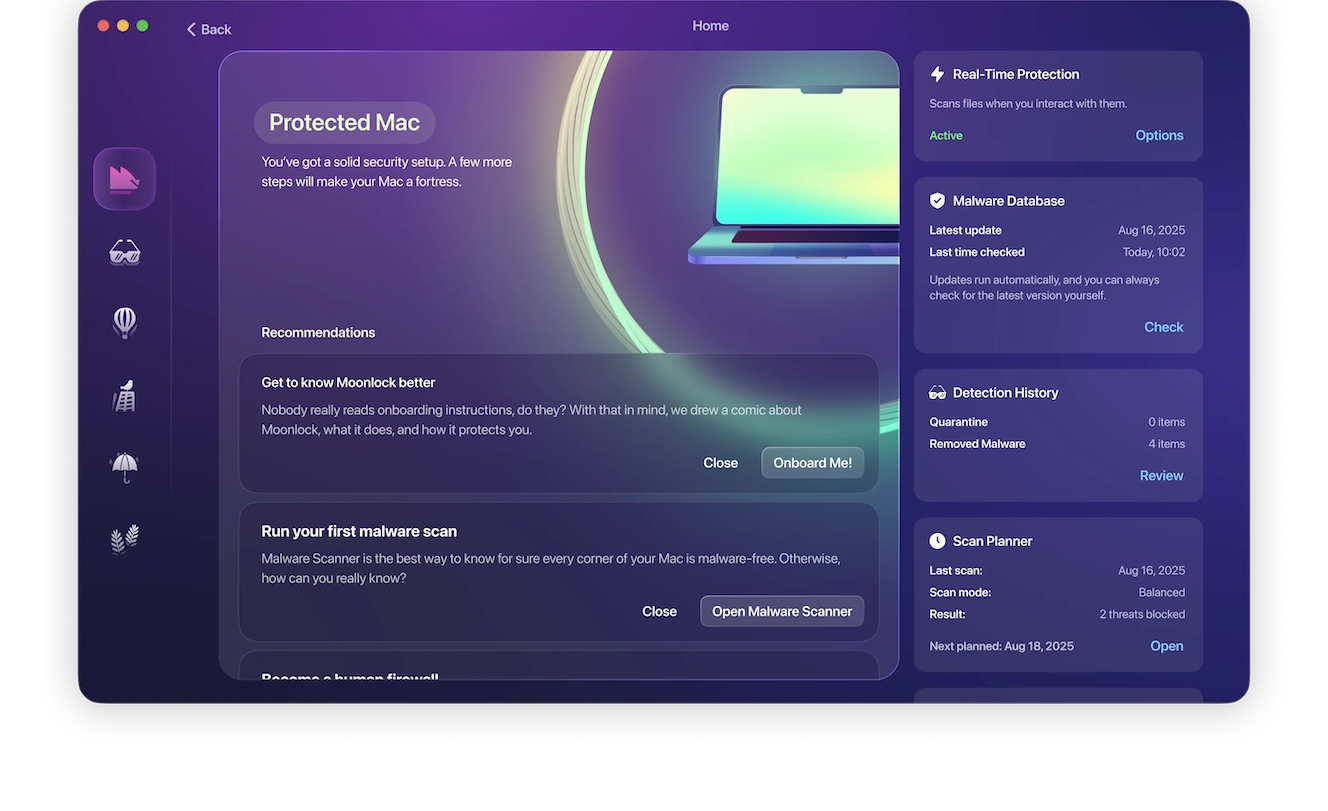
- But before you get out the champagne, you should also turn on real-time protection in Moonlock. It will watch for all kinds of malware, including Bing redirect variants, and neutralize it if it makes its way onto your Mac ever again.
Check your browser settings
Next, you should look very closely at your browser settings. Some of them have likely been changed. Moonlock doesn’t change browser settings back, so this is one you need to do.
Safari
Let’s first look at how to get rid of this pest from Safari.
- Safari > Settings > Extensions. Remove any unknown ones.
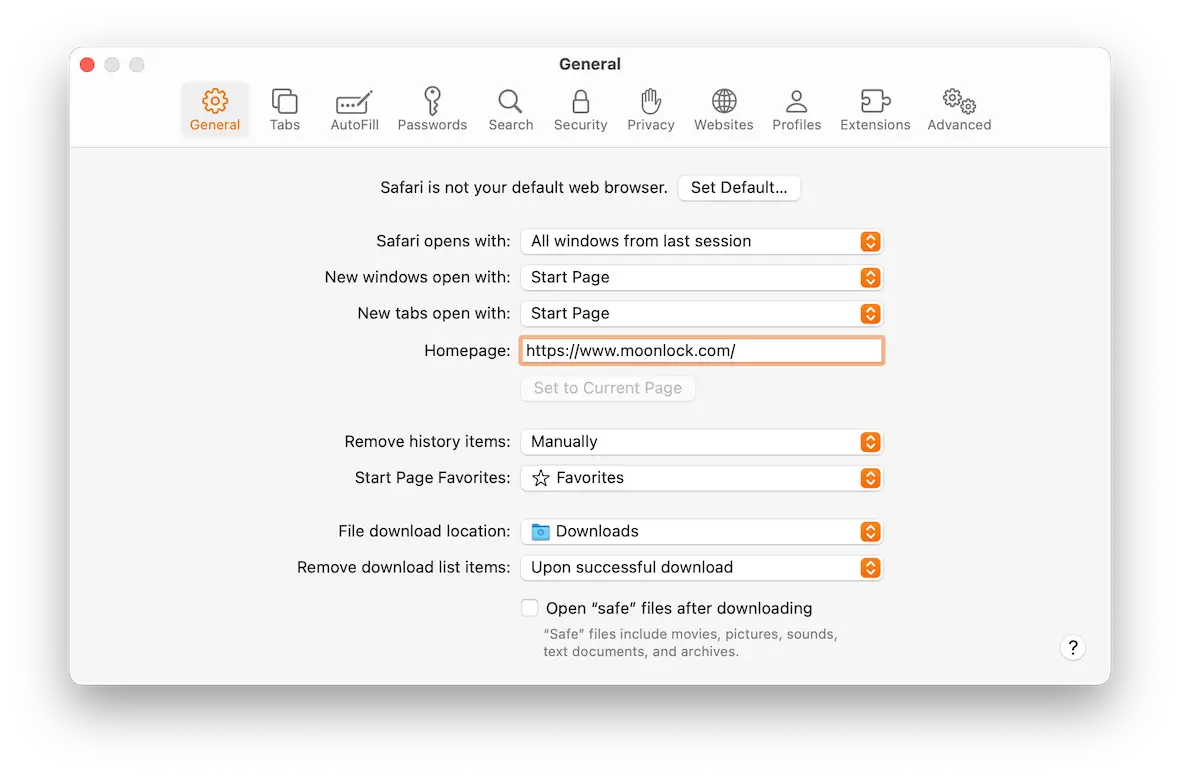
- Safari > Settings > General. Reset your homepage.
- Safari > Settings > Search. Reset your default search settings.
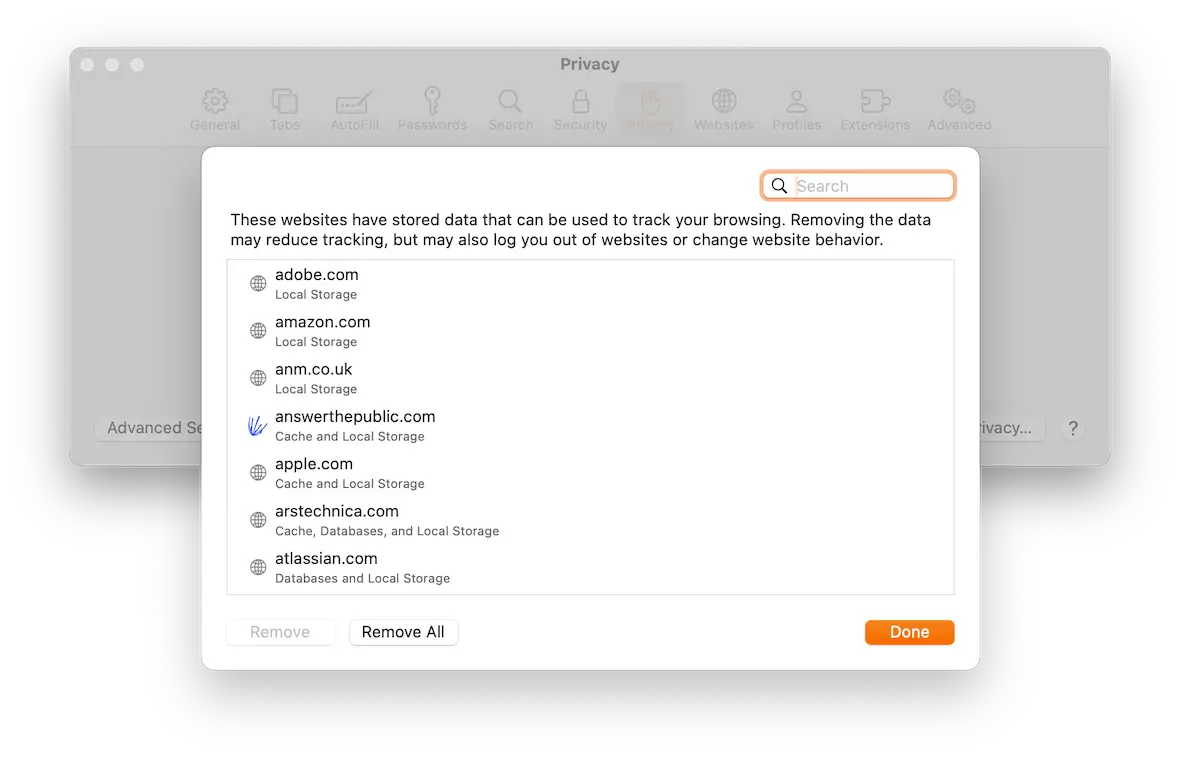
- Safari > Clear History… Delete all cache and temporary internet files.
Chrome
Here’s how to remove the Bing redirect from Chrome.
- Settings > Extensions > Manage Extensions. Remove any unknown ones.
- Settings > Appearance. Reset your homepage.
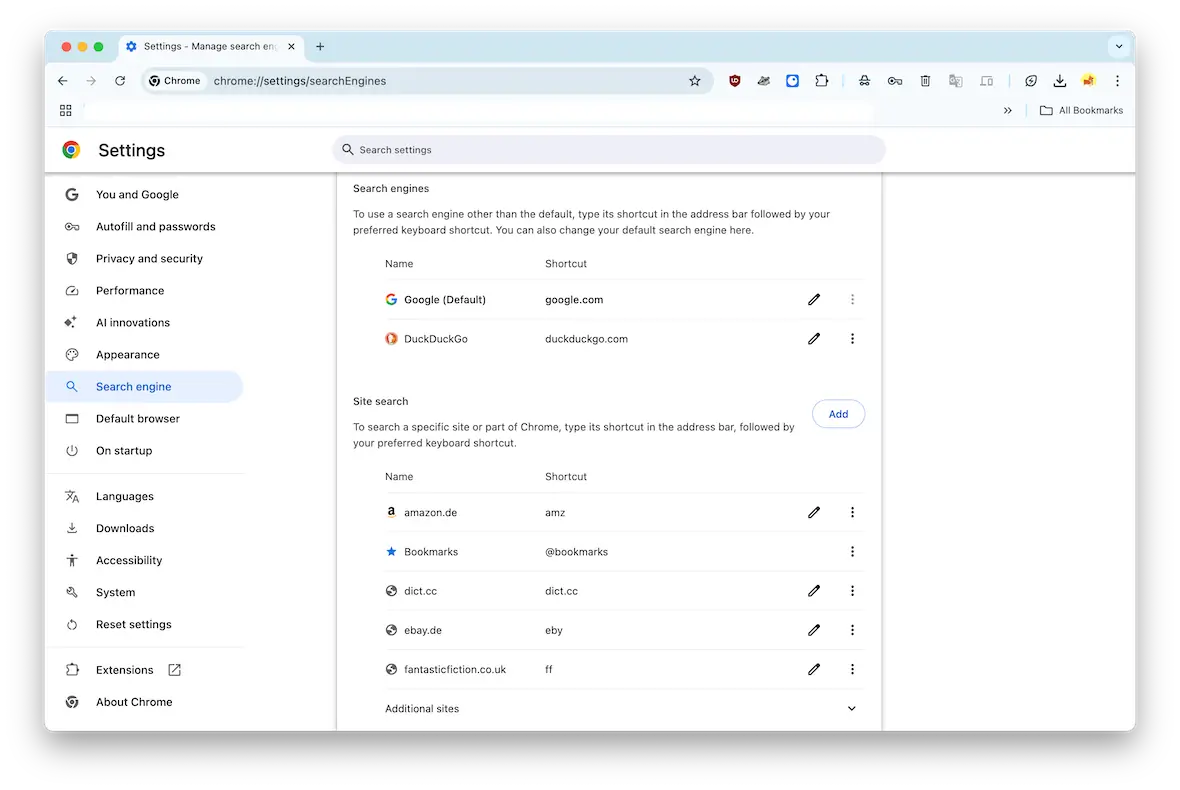
- Settings > Search Engine. Reset your default search settings.
- Settings > Privacy and Security. Delete all cache and temporary internet files.

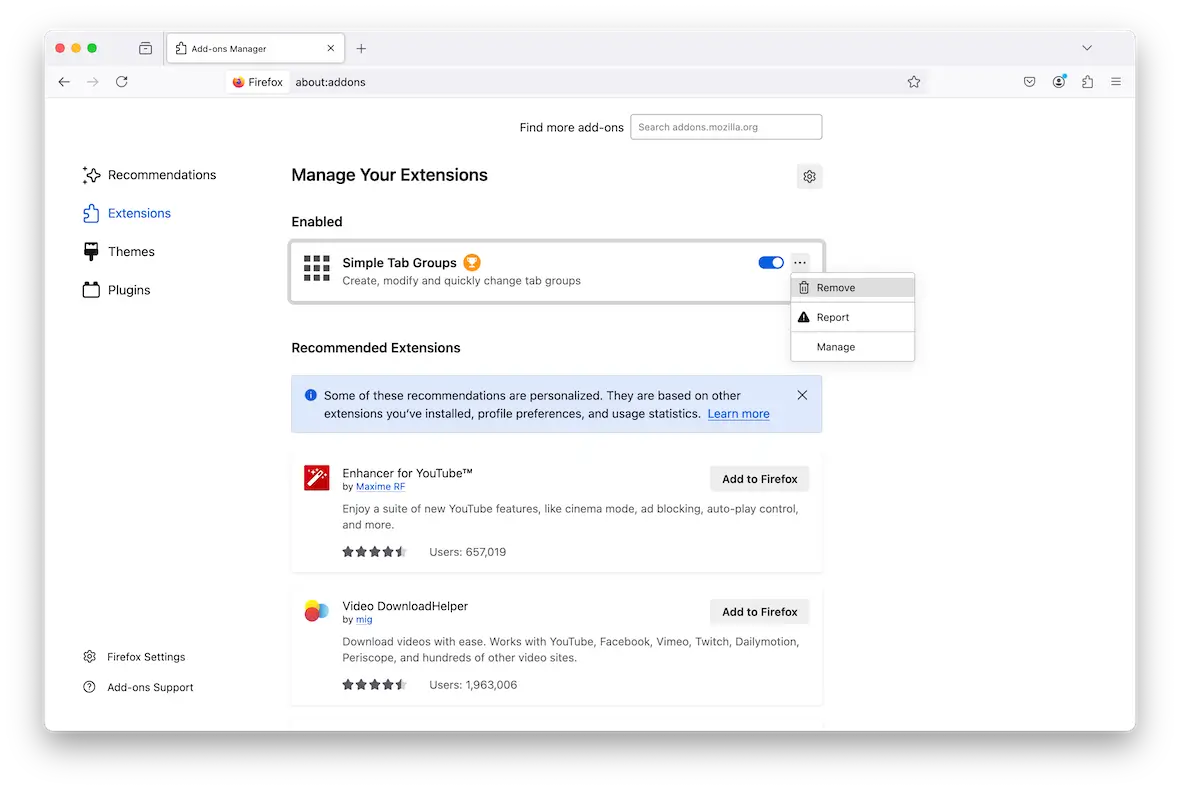
Firefox
Finally, let’s look at Firefox.
- Settings > Addons & Themes. Remove any unknown ones.
- Settings > Home. Reset your homepage.
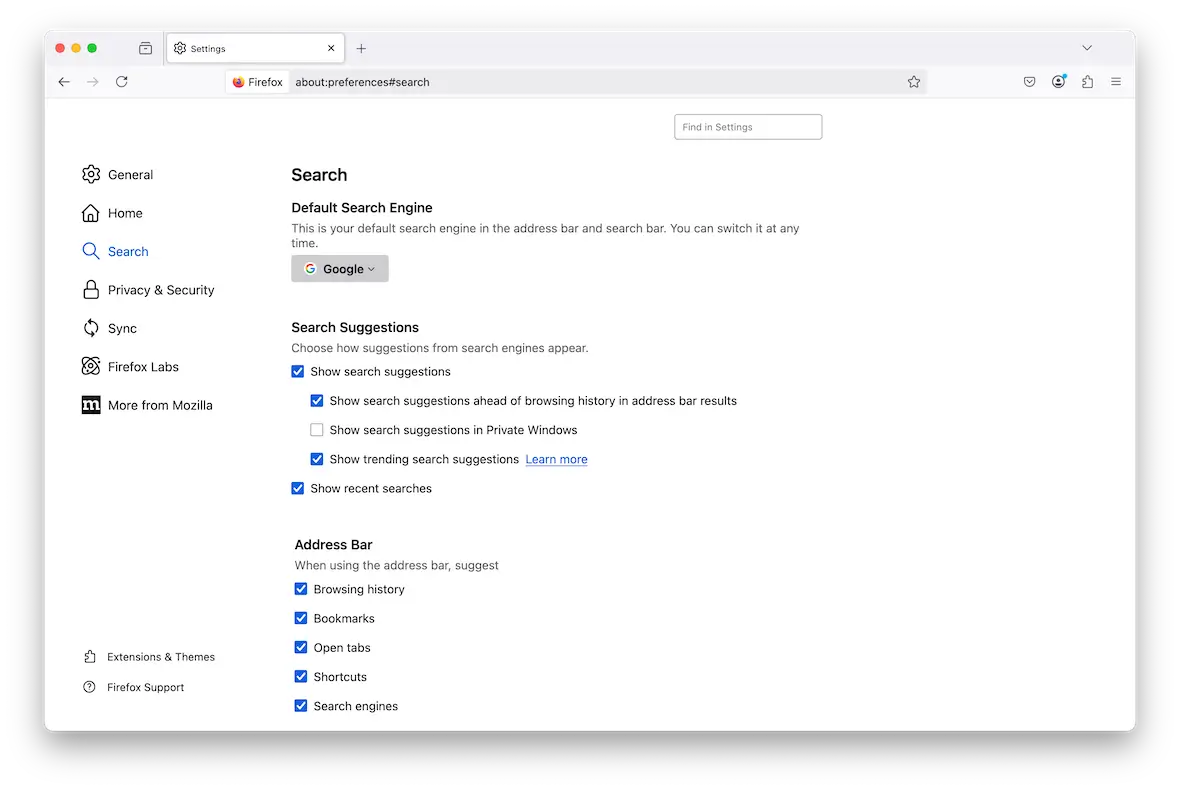
- Settings > Search. Reset your default search settings.
- Settings > Privacy & Security. Delete all cache and temporary internet files.
Check for rogue configuration profiles
Go to System Settings > Privacy & Security > Profiles. Delete any configuration profiles that you don’t recognize.
Delete Launch Daemons and Launch Agents
This one involves jumping into Finder and locating some folders:
/Library/LaunchAgents~/Library/LaunchAgents/Library/LaunchDaemonsInside those folders, look for anything containing the word Bing and delete them.
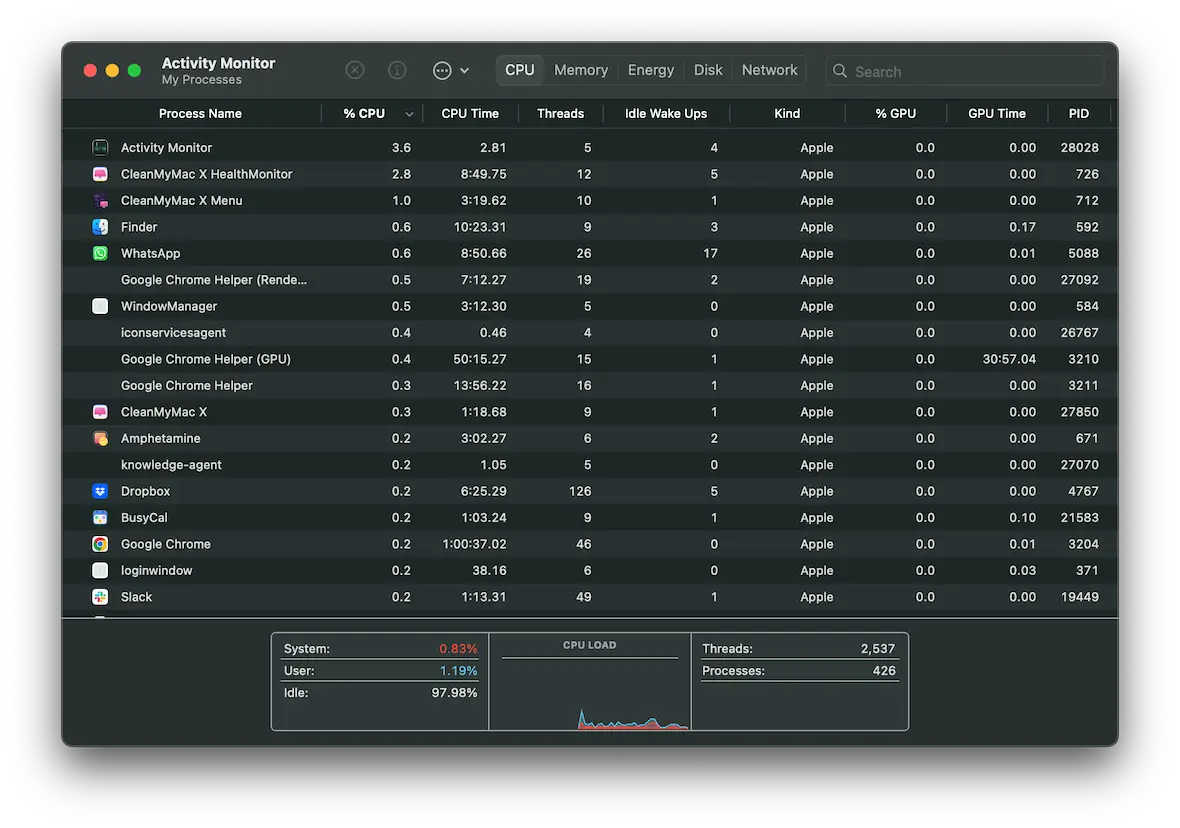
Signs your Mac might have a Bing redirect “virus”
Here are some ways to know for sure that your Mac has the Bing redirect:
- Your searches are being redirected to Bing (obviously!).
- Your Mac is becoming sluggish and crawling like an snail. The device may even crash.
- You have suspicious processes in Activity Monitor consuming the vast majority of your CPU and memory.
- When you try to put your default search engine back, it gets changed again.
- There may be a suspicious unknown app in Applications and/or an unknown extension on your browser.
How to prevent browser hijackers, including the Google redirect to Bing
Finally, let’s look at some ways you can prevent this sort of thing from happening. Prevention is better than the cure, right?
- Never install cracked software from pirate sites.
- Try to be cautious when buying software from unknown developers outside of the Mac App Store.
- Don’t click on any links sent to you by unknown senders.
- Keep your browser and macOS system updated with all security patches.
- Install an adblocker and do your best not to click on any ads that may slip through.
- Put a password on your MacBook, and don’t let any unknown people access your device.
The Bing redirect is a particularly nasty piece of work that lowers your guard by sending you to Bing, a known website. But in the middle, it sends you through a very sketchy neighborhood where you require protection of the Moonlock variety. Don’t leave home without it.